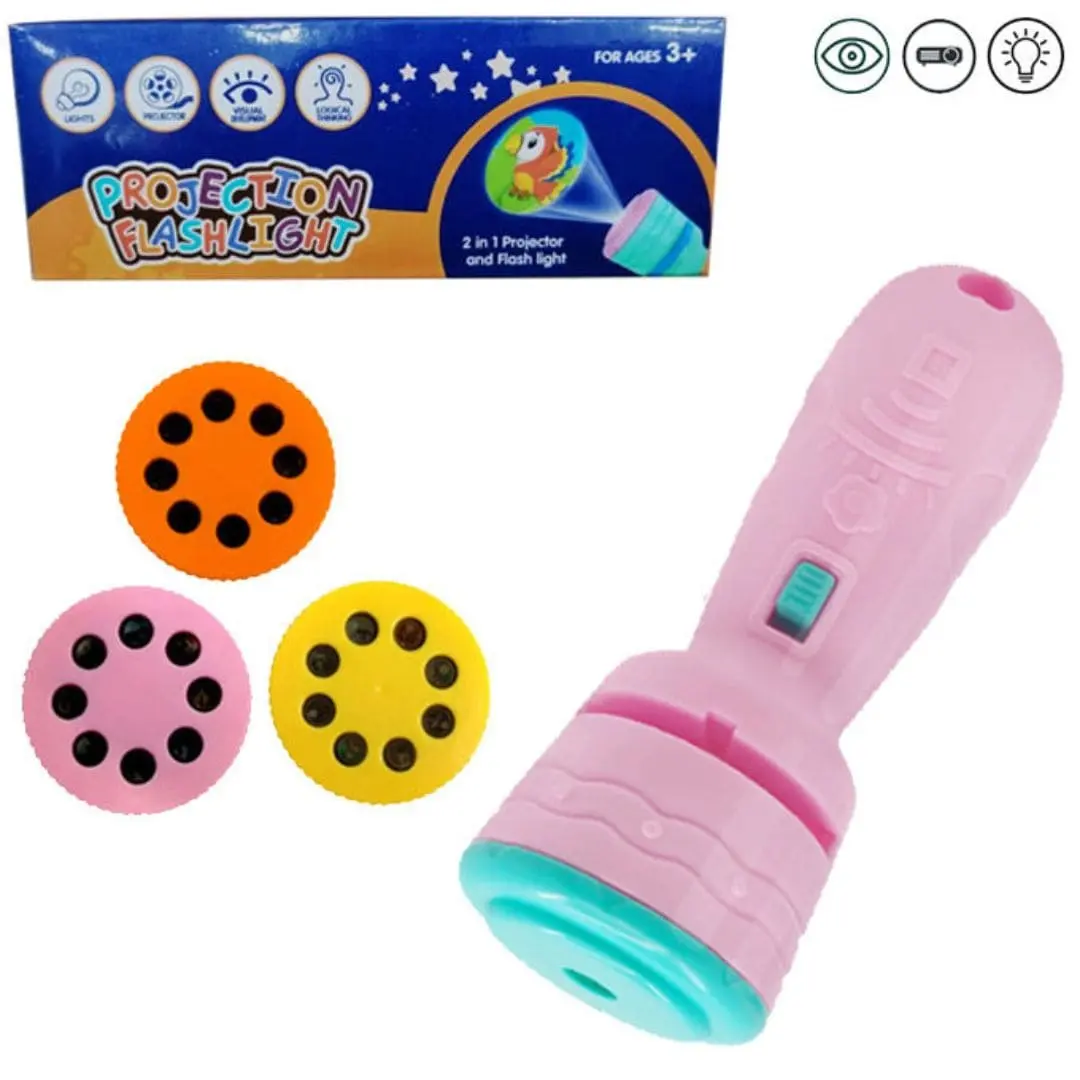
Project Flashlight, Children learn best when they can see, touch, and explore things on their own. Simple science projects at home or in school help kids understand how everyday objects work. One of the most exciting and easy activities for young learners is making a flashlight. A Project Flashlight for kids is not just a fun craft, but also a great way to introduce basic science concepts like electricity, circuits, and energy.
This hands-on activity allows children to build something useful with their own hands. When the flashlight finally lights up, it brings a sense of achievement and excitement that encourages further learning. In this article, you will find a complete guide to creating a simple flashlight project, along with its benefits, materials, steps, and tips for making it successful.
What Is a Project Flashlight?
A Project Flashlight is a small science activity where children create a working flashlight using basic materials such as a battery, wires, and a bulb or LED. The goal is to show how electricity flows through a simple circuit to produce light.
Buy Now: Monesstori Toys Wooden puzzle Board
Instead of just using a ready-made flashlight, kids learn how each part works together. They understand how power travels from the battery to the light source and how a switch controls the flow of electricity.
Why This Project Is Great for Kids
The Project Flashlight is perfect for children because it is simple, safe, and highly engaging. It combines learning with creativity and gives instant results.
Kids enjoy building something that they can actually use in real life. It also makes science feel less complicated and more enjoyable. Instead of reading from a book, children learn by doing, which helps them remember concepts better.
This project is also suitable for school assignments, science fairs, or home learning activities.
Learning Goals of the Project Flashlight
This activity helps children understand several basic ideas in a simple way.
Understanding Electricity
Kids learn that electricity flows in a path called a circuit. They see how connecting wires allows energy to move.
Learning About Energy Sources
The battery acts as the power source. Children understand that stored energy can be used to produce light.
Exploring Circuits
They learn about open and closed circuits. When the circuit is complete, the light turns on. When it is broken, the light goes off.
Problem Solving
If the flashlight does not work, children try to find the problem and fix it. This improves their thinking skills.
Buy Now: Wooden Shapes Board
Materials Needed for the Project
The flashlight project does not require expensive tools. Most items are easily available at home or in local shops.
- A small battery (AA or AAA)
- A small bulb or LED light
- Two wires
- Tape or glue
- Cardboard tube or plastic bottle (for the flashlight body)
- A small switch (optional but helpful)
These simple materials are enough to create a working flashlight.
Step-by-Step Guide to Making a Flashlight
Follow these steps carefully to create your flashlight.
Step 1: Prepare the Body
Take a cardboard tube or an empty plastic bottle. Project Flashlight, This will act as the outer body of the flashlight. Make sure it is clean and dry.
Step 2: Insert the Battery
Place the battery inside the tube. Make sure it fits properly and stays in place.
Step 3: Connect the Wires
Attach one wire to the positive end of the battery and another wire to the negative end. You can use tape to hold them firmly.
Step 4: Attach the Bulb or LED
Connect the free ends of the wires to the bulb or LED. When both connections are correct, the circuit should complete.
Step 5: Add a Switch
If you have a switch, place it between one of the wires. This allows you to turn the flashlight on and off easily.
Step 6: Test the Flashlight
Once everything is connected, test the flashlight. If the light turns on, your project is successful.
Buy Now: Sank Magic Practice Copy Book
Safety Tips for Kids
Although this project is simple, safety should always come first.
Children should perform the activity under adult supervision, especially when handling wires and batteries. Avoid using damaged batteries or broken wires. Make sure hands are dry before working with electrical parts.
Using low-voltage batteries like AA or AAA keeps the project safe for kids.
Creative Ideas to Make It More Fun
Project Flashlight, Kids can decorate their flashlight to make it unique. They can use colored paper, stickers, or paint to design the outer body.
Another fun idea is to create themed flashlights, such as a superhero flashlight or a glow-in-the-dark design.
Children can also experiment with different colors of LEDs to see how the light changes.
Common Problems and Solutions
Sometimes the flashlight may not work on the first try. This is part of the learning process.
Project Flashlight, If the light does not turn on, check the battery position. Make sure the positive and negative ends are connected correctly.
Buy Now: Water Bottles for Kids
Loose wires can also cause problems. Ensure all connections are tight and secure.
If the bulb or LED is damaged, replacing it may solve the issue.
How This Project Helps in School Learning
Project Flashlight, Teachers often encourage simple science projects to help students understand concepts better. The flashlight project is commonly used in classrooms to explain electricity.
Students can present this project in science exhibitions or class assignments. It shows practical knowledge and creativity, which can help them perform better academically.
Building Confidence Through Hands-On Learning
When children complete a project like this, they feel proud of their work. It builds confidence and motivates them to try more activities.
They learn that mistakes are part of learning and that problems can be solved with patience and effort.
Encouraging Curiosity and Exploration
This project can lead to many new questions. Project Flashlight, The Children may wonder how bigger lights work or how electricity powers homes.
Parents and teachers can use this curiosity to introduce more science topics. Simple projects like this can spark a lifelong interest in learning.
Making the Project More Advanced
For older kids, the flashlight project can be expanded.
Project Flashlight, They can use stronger batteries, add reflectors to increase brightness, or design a better switch system.
Some children may even try to create rechargeable flashlights or use solar power as an energy source.
Importance of DIY Projects for Kids
Do-it-yourself projects help children become independent thinkers. Project Flashlight, Instead of just using ready-made products, they learn how things are made.
DIY activities also improve creativity, patience, and problem-solving skills. These skills are useful not only in school but also in everyday life.
Final Thoughts
The project flashlight for kids is a simple yet powerful learning activity. It combines fun, creativity, and education in a way that children truly enjoy. By building a flashlight, kids learn how electricity works and gain confidence in their abilities.
This project does not require expensive tools or complicated steps, making it perfect for home and school use. With a little guidance and creativity, Project Flashlight, children can turn basic materials into something useful and exciting.
Encouraging kids to take part in such hands-on activities helps them grow, learn, and explore the world around them. A small project like this can create big learning moments that stay with them for years.
Frequently Asked Questions (FAQ)
Q1: What is a flashlight project for kids?
Pencil colors are used for drawing, coloring pictures, school projects, and creative art activities.
Q2: Is this project safe for children?
Yes, it is safe when done under adult supervision using low-voltage batteries.
Q3: What age is suitable for this project?
Children aged 6 and above can easily understand and complete this project.
Q4: Why is my flashlight not working?
Check battery position, wire connections, and ensure the bulb or LED is not damaged.
Reviews
There are no reviews yet.